Life Hack: Tips on oil painting

When you think of painting with oil it could sound really intimidating at first. Oil paints provide deeper colors and are thicker than acrylic paints. They do take longer to dry but they are overall better quality and blend a lot better than cheaper paints. What first comes to mind for me when I first started to paint with oils I thought of beautiful masterpieces that are in art museums. I have been doing art for as long as I can remember and painting used to not be my strong suit. I started out doing pencil drawings and I started exploring the world of paint. These are a few tips I have learned from doing art over the years.
When first starting out I suggest finding a photo for reference. For this piece, I wanted to do a gender-bend and put a man in a dress. Your art can have a meaning of you can paint simply to paint. Most of the art that I do has meaning in it. I wanted to question society’s restraints on the genders and show it is ok for a man to be more feminine presenting and vice versa for women. A lot of times I take many photos to put together. So I found a photo I liked and I wanted to make the background. I found a model in the position I wanted then I found another photo of someone wearing a dress. I mentally put it together of how I wanted everything to be placed. To create the picture I wanted on my phone I used the app Pic Collage. Below there will be a link to the app I used to stitch the photos together.
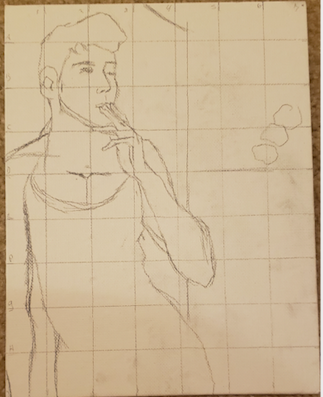
Then if you look at the photo above there is a grid drawn. I suggest making your grid off the dimensions of the painting. For this one, it was 7 inches by 9 inches. I took a ruler and measured out the inches to create the grid. Then I used an app on my phone called the Grid Drawing tool to map out the proportions of the model. You can change the settings on the app to fit the grid you are looking for. This app is available for ios and apple products. At the bottom of this post, I will have a link to the app I used and other links that should be helpful.
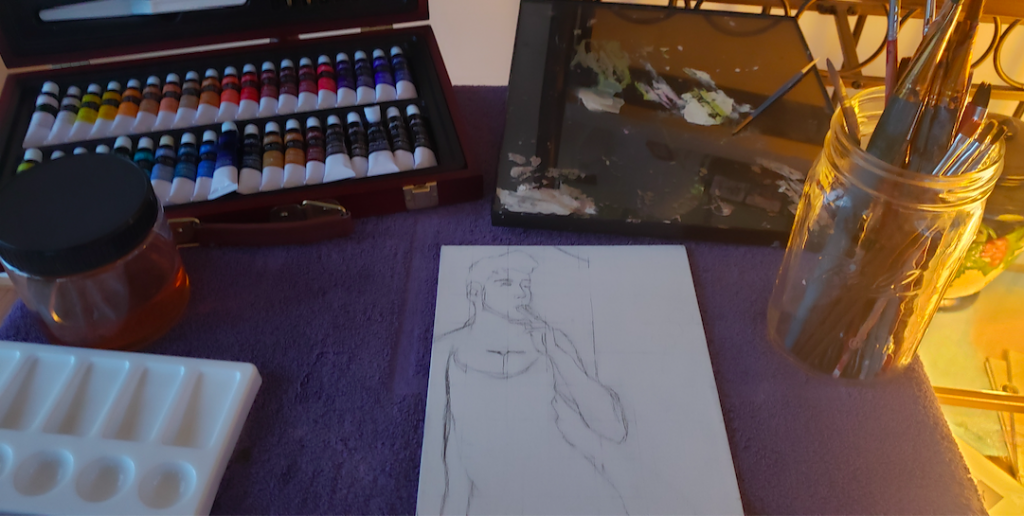
So this is where the fun part starts! Before you start to paint find a space with good ventilation. Oil paint can be toxic so you can get lightheaded in a small confined place with little ventilation. You can go ahead and erase the grid and what is left is what you will be painting. You don’t need too many supplies. On the left of the photo is a jar of terpenoid oil. This acts as a thinner if you want to thin out your paint. There are so many different types of oil paints you can use but for this painting, I used Castle Art oil paints. Then I have a simple palate but at the right top of the photo, I have a piece of glass. I prefer to use glass because it provides a bigger surface area to start mixing paints. Then you can use paintbrushes or a palate knife. For this painting, I used both a paintbrush and a palette knife
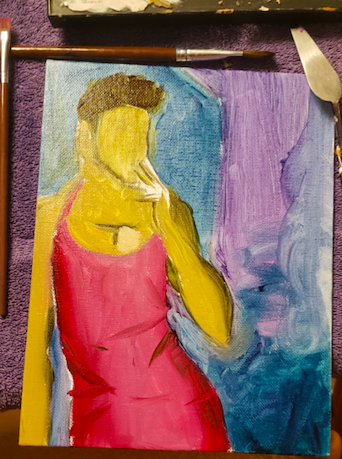
First, you need to do an underpainting. An underpainting is where you just pay down your general colors. For this, I thinned out my paints a lot with terpenoid oil. For this, I used my brushes. This helps a lot for beginners who are intimidated by canvas and is a good way to overcome the fear of messing up. As you can see the painting doesn’t start out all that pretty. Your goal for this step is to simply map out the colors.
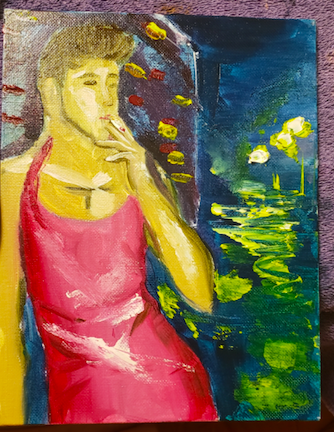
Once you have your underpainting down you can start to lay down your colors. I suggest starting out with your shadows then going towards your lights. For this, you can use a brush but I decided to do a less controlled painting and used a palette knife. Palate knives are great if you have trouble when it comes to letting go of control and they will add movement throughout your work. It also will give your painting more dimension. Also, you don’t have to thin your paints out for this part. This is where you will start to really mix your colors and add your shadows. I suggest not being shy with color. worst-case scenario if you do not like how it looks you can scrape off the paint. That is why oil paint is so great they are thick and easier to simply wipe off.
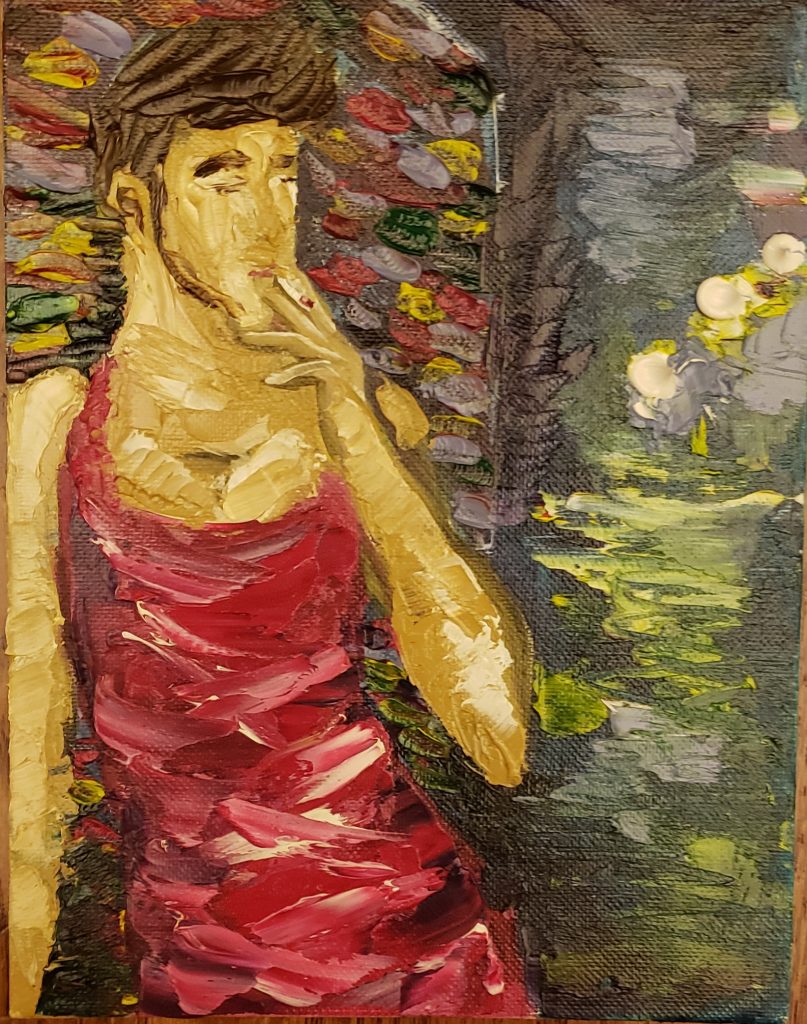
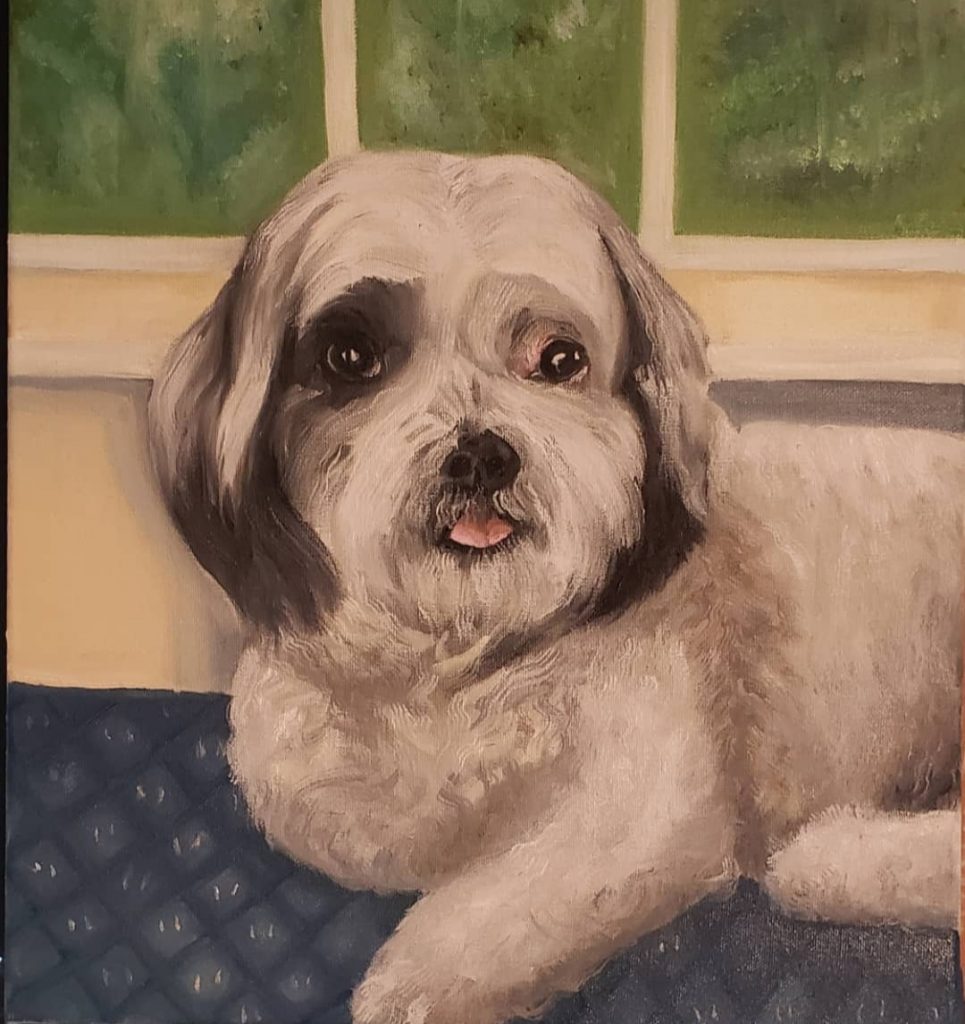
Then you want to continue to layer your paint and experiment with color. Your painting doesn’t have to look perfect to be a good painting. As you can see in this painting there is not a lot of blending just a lot of layers of color. There are so many paintings in museums that are far from perfect. When painting the best tip I ever learned was beauty is in the eye of the beholder.

These are some links to other resources!

Grid Draw App: https://apps.apple.com/us/app/grid-drawing-tool-for-artists/id1373800089

Pic Collage: https://piccollage.com/

Castle Art’s website, they offer a wide variety of art supplies: https://castlearts.com/gclid=Cj0KCQiAoNWOBhCwARIsAAiHnEjJUFCC716ngwqNq_euNHE4sp8KU0yCAjTVUjRqdXaMYKDD8tR_7AaAntUEALw_wcB

Here is another guide for beginning oil painters: https://drawpaintacademy.com/oil-painting/
Ashland Skateland: a review

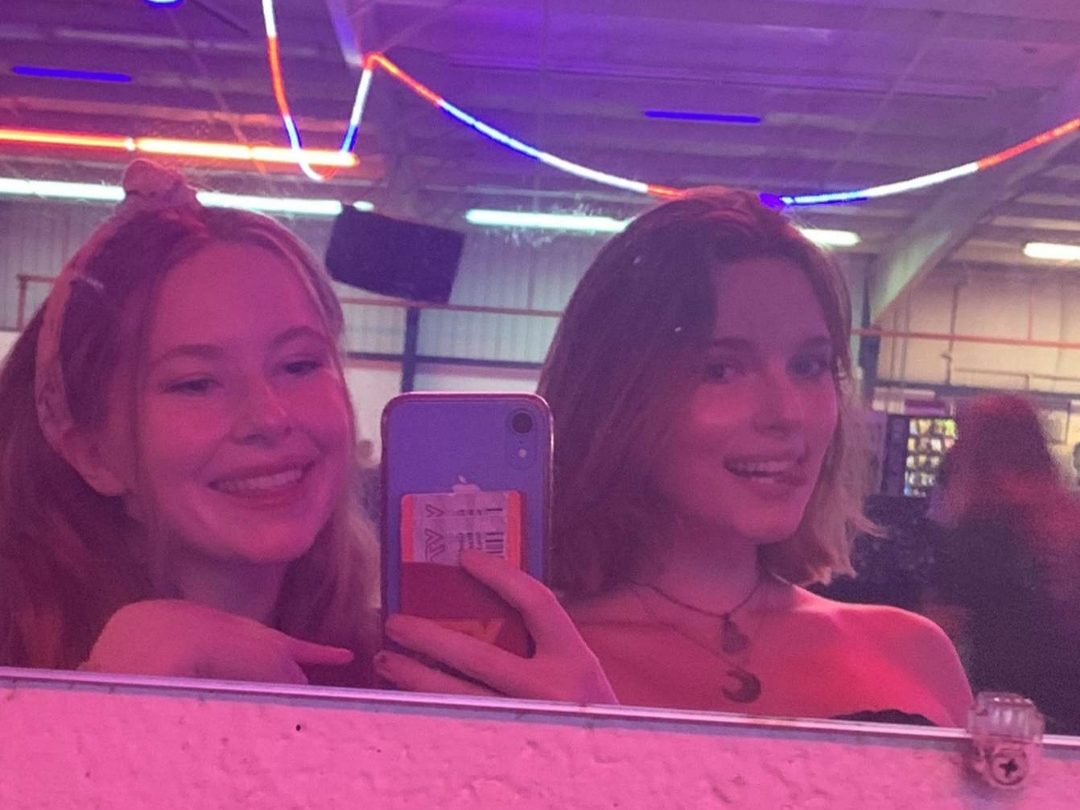
When trying to find something to do as a college student that isn’t too expensive is a little tricky. Sometimes you have to get creative and go back into your childhood memories and recreate them. One day my friend Bre and I were thinking of things to do. An idea quickly came to mind. When I was younger I always enjoyed the occasional trip to the roller rink. So we decided to take a little trip to Ashland Skateland.

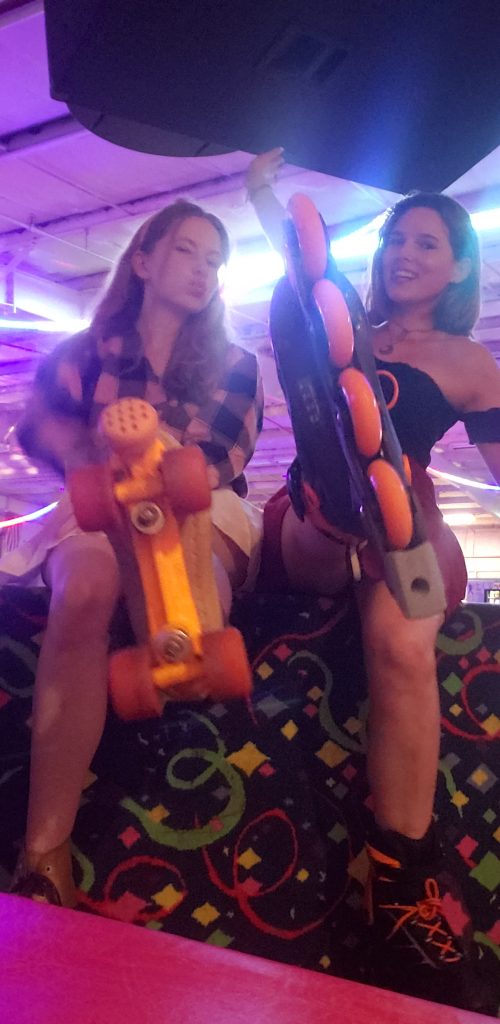
Bre and I took a quick mirror photo under the dream-like lights

Located at 516 N Washington Hwy, Ashland, VA 23005 it only costs about $6 upfront as an entrance fee. Then if you don’t have a pair of your own skates they offer rentals as well. The rental skates cost around $10 making it a decently cheap girl’s day out. They offer two different types of skates. One is inline which below is seen on me on the right and then there are the quads that are seen on Bre on the left. I personally prefer the inline I quickly noticed when I originally put on the quad I would fall more often so I switched to inline and I was able to skate a bit more smoothly.

We had a lot of fun recreating old childhood memories of facepalming on the hardwood floors. There was music and they also did the hokie pokie! They also had a concession stand where they offered a variety of quick snacks and drinks for the in-between sessions of the utter chaos of nearly slamming into the side walls while trying to keep balance. In doing so I realized I am awful at skating but it was overall a lot of fun! Outside of public skating, they also have times for private parties and adult skate nights every Monday from 7:30pm – 10:30 pm. While there I also noticed some kids were having birthday parties as well. The birthday parties are a lot more expensive. They cost around $135 for 10 guests including the birthday child. I know birthdays here are intended for children but I’m going, to be honest, I would probably go celebrate my birthday there just because of how much fun I had.

Bre and I mimicking the scene in titanic while trying not to fall down

Also, quick tip when going rollerskating. Do not wear a skirt even if you feel cute in it. I learned this the hard way that night. Unfortunately while skating I proceeded to faceplant and my skirt went up. I can still remember Bre quickly trying to skate towards me to cover me. I’m not sure which was more amusing me laying there as the realization a room full of people just saw that or Bre trying to get to me and not end up falling on her face in the process. If anything, be smarter than me in this situation. Wear shorts underneath to save yourself from the embarrassment that happened to me.

About me

Hi! My name is Laura Nichols. I’m a nursing student at Longwood University. In high school, I graduated as a certified nurse aide and this has led me to my goal of becoming a nurse. I’m very sociable and I love to interact with people. Besides nursing, I love to do art and I like to collect crystals.

My Travel Experience Jamestown Beach

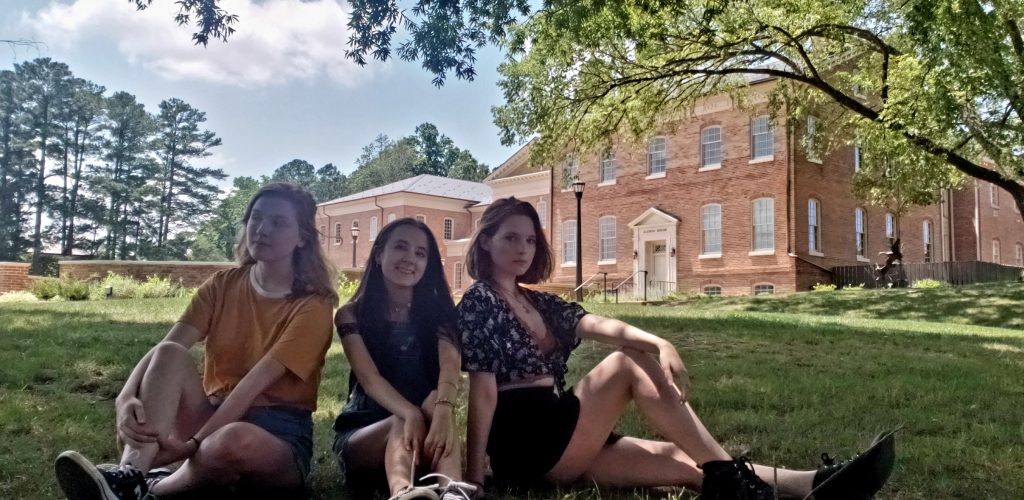
Rachel, Arya, and I having some fun looking around William and Mary’s campus!

Looking for some family fun! Yorktown beach is the perfect place to take your friends and family for a little day trip. One day a few of my friends and I decided to take a group trip but we didn’t want to drive all the way to Virginia beach. My friend Anna goes to William and Mary and she suggested we go to Jamestown beach. She knew of the location because she had gone there with friends before. It is a 23-minute drive from William and Mary so it is often time frequented by college students on warmer days.

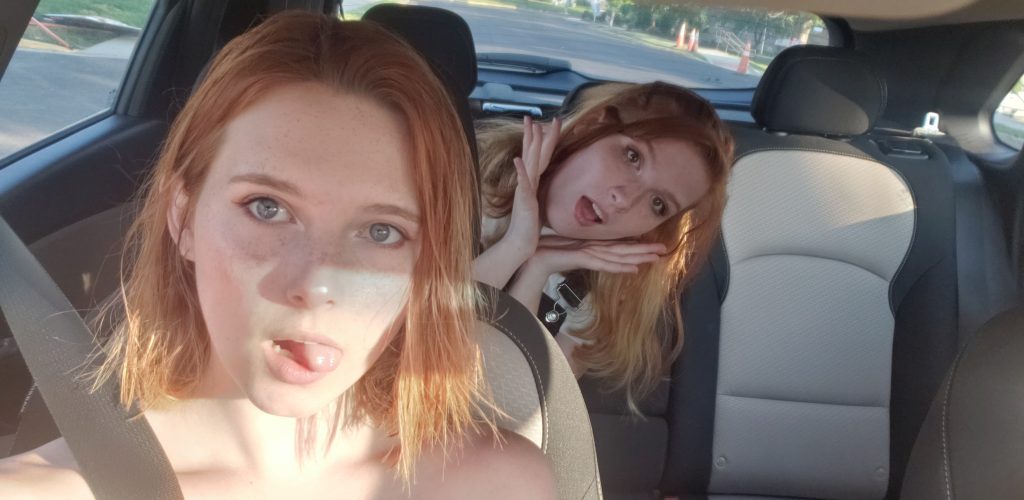
Rachel and goofing around in the car while Arya focuses on driving

So the trip started when the three of us jumped in the car and made the hour and 20-minute drive from chesterfield Va to Yorktown beach. The time flew as we blasted music with the windows down and filled the car with our constant chatter.

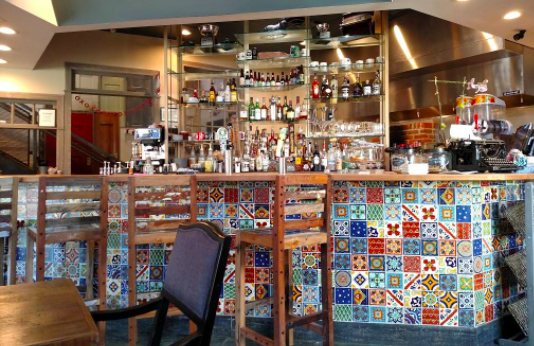
Before going to the beach we decided to get a bite to eat. So we went to this really cute restaurant called Culture Cafe. The whole restaurant was covered in random stuff and they had a wall covered in random doors. Along with the wall of doors, they also had different types of chairs. Besides the chairs as the bar, all the other ones looked thrifted. It was very cute as the mascot of the restaurant was a rabbit. The food was delicious. They had many options and catered to those with special diets. My friend Arya is a vegan and she was able to enjoy a vegan burger. After eating we asked the owner if we could take a look upstairs. They had a cute little lounge as well. I wish there was a place like this in Farmville because I know I would be going here to study all the time. The employees were all very welcoming and it was an overall good experience in the little cafe.

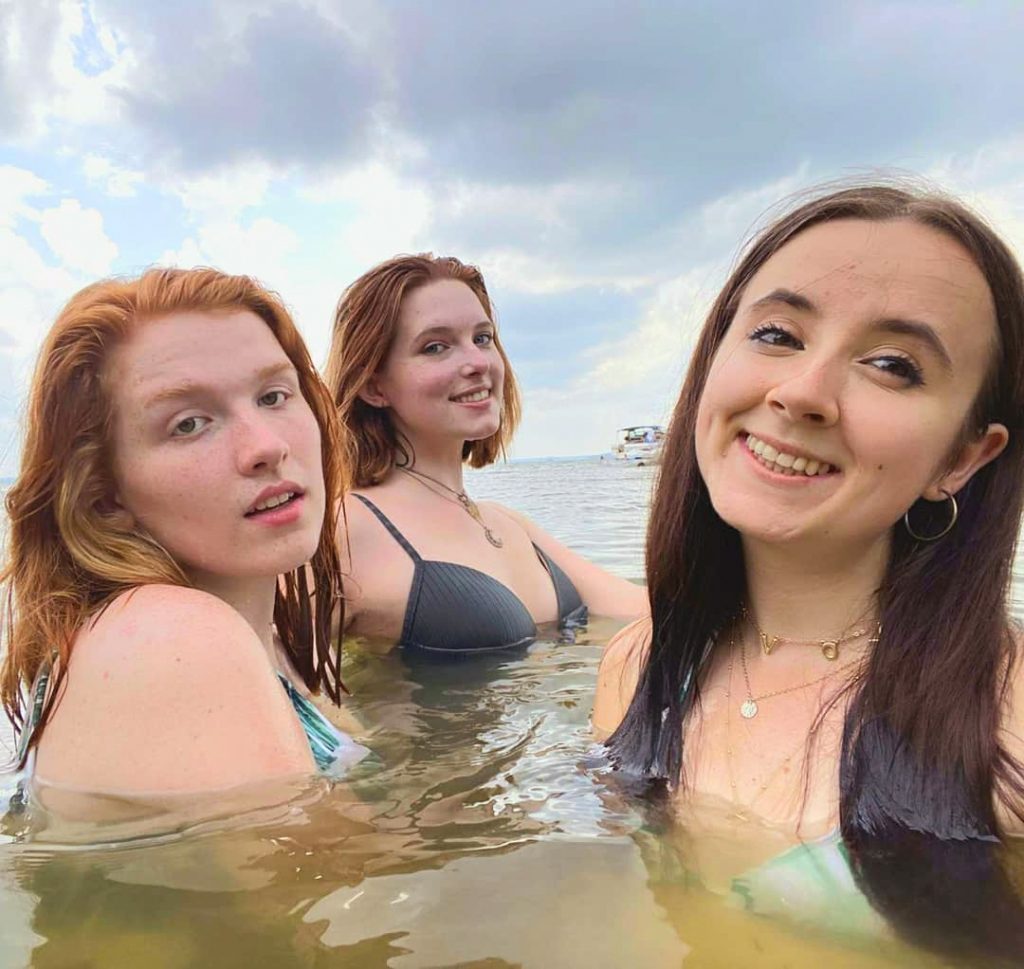
mini photoshoot in the water

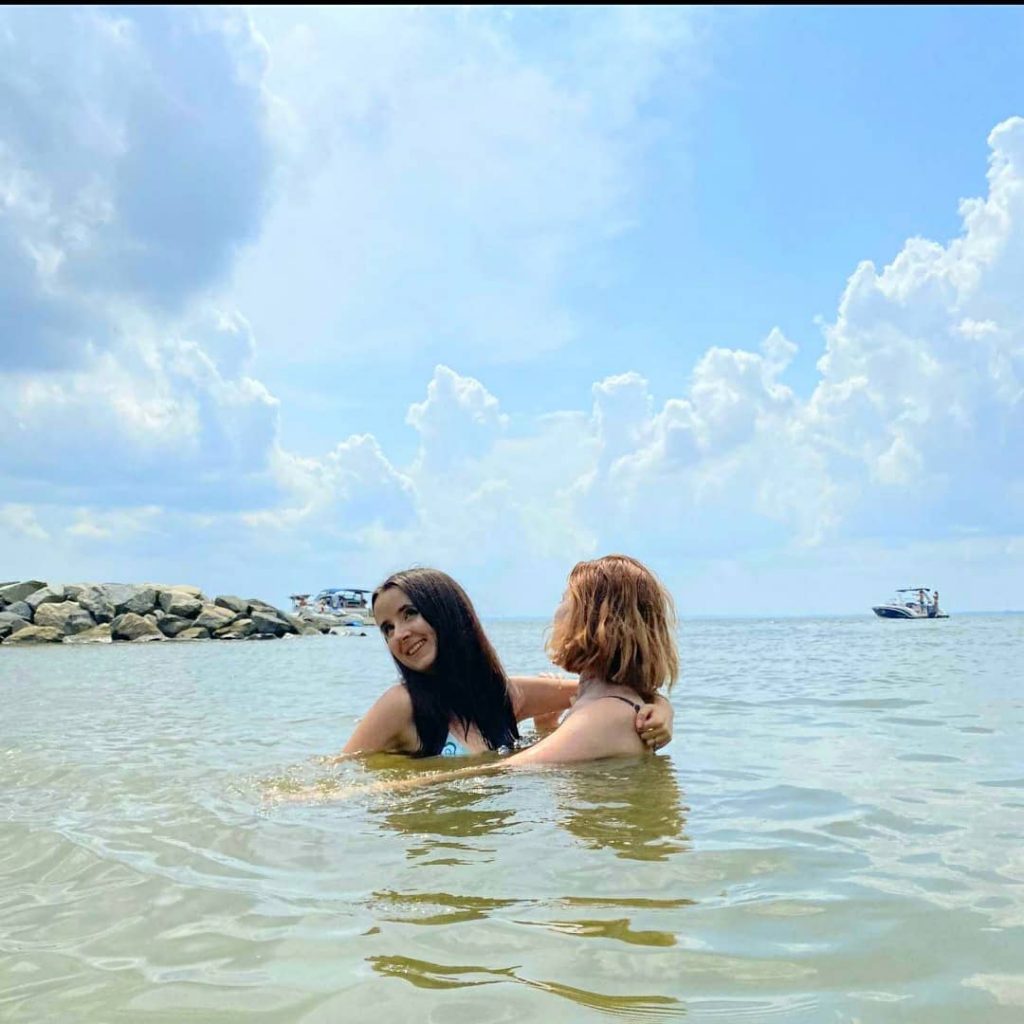
When we finally reached our destination we couldn’t wait to get out in the water. It was incredibly hot that day so Rachel and I sprinted towards the shore while Arya set up her camera. Arya is a blogger and will often time record our little trips as a group. She made this really cute video that completely encapsulated our trip! There were many families visiting at the same time as us. There were picnic tables and some people were also grilling right out on the sand. James town beach is not actually a beach it is a large embankment from the James River. It looks a lot like the beach and they also have tiny waves. Unlike the beach and the really aggressive undertow and large waves, I would say this is the perfect place to take young children if they are not strong swimmers. You do not have to worry about your kids getting washed out or hurt by the waves.

Arya and I taking photos together in the water

unfortunately, it started to rain so your little day trip got cut short but it was ok because around that time we were already tired. So we got changed and drove back home. We did work up an appetite in the water so we decided to take a quick stop at tropical smoothy. It was my first time going and they had so many options. So before leaving we all talked about our little trip while scarfing down our smoothies

Here is the link to Arya’s vlog where she captures our little trip! All the credit goes to Arya and her love of vlogging.