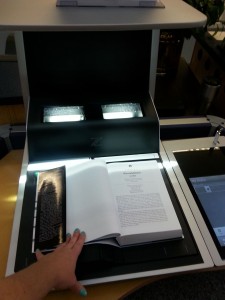
So, as you may have noticed, we have a new book scanner in the atrium! It’s on a table by the self-checkout machines.
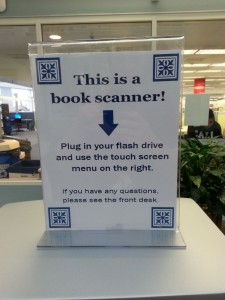
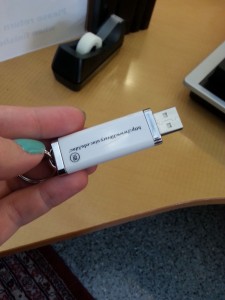
It’s pretty fancy, but don’t let that scare you. It’s very easy to use! All you need is a USB drive.
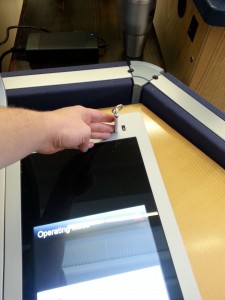
Okay great! So now, you’re going to put the USB drive into one of the slots on the right-hand side of the scanner.
Great! Yes, that’s it. Now, get the book or magazine that you want to scan.
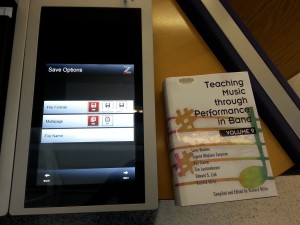
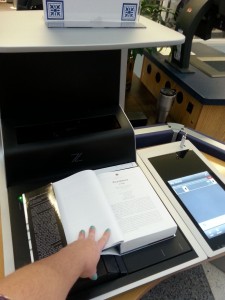
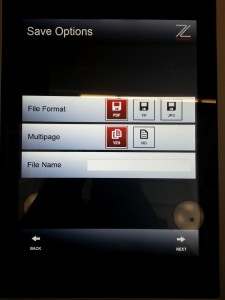
Okay. Place the book on the cradle. It moves to allow for books of different widths. You can leave the save options on the screen alone, since you want to scan multiple pages as a PDF.
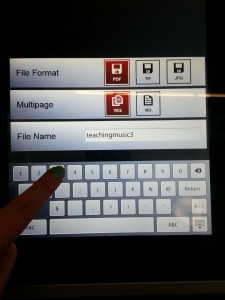
Yep! Now, when you scan, you’ll probably need to hold the pages down so they don’t flip up. Try to hold it more in the corner of the page so your fingers don’t get in the way. Before you do that though, you’ll have to name your file. Touch where it says “file Name” and give your scan a name. I suggest the author or the first part of the title of the book.
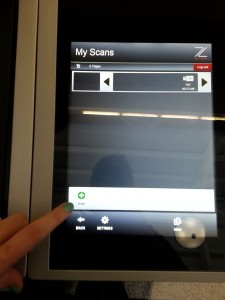
Perfect. Now minimize the keyboard by the little keyboard icon in the bottom left corner, and select the next arrow. You’ll see a screen that has a green plus sign. Once your book is in place, go ahead and click the plus sign.
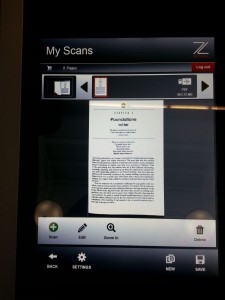
Yeah it is. Now that you’ve scanned your first page, all you have to do is turn the page and press the green plus sign again. Do this until you’ve scanned every page that you need. Don’t forget to scan the title page so you can write your citation!
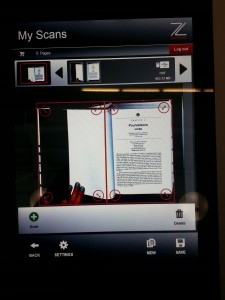
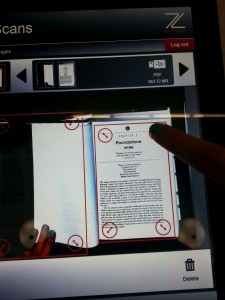
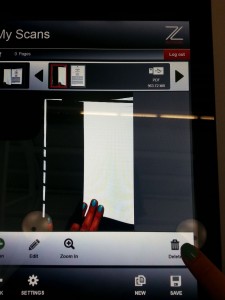
You can edit your scans right on the screen. Select the circle on the page corner and drag it to crop out any black or blank areas.
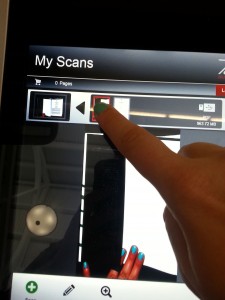
If there’s a page you don’t want, select the thumbnail of the unwanted page on the top bar. It shows that page on the screen. There is a ‘delete’ option on the bottom right corner. It will only delete the page you’ve selected.
Yep! Keep scanning, and when you’re all done, just click ‘Save’ on the bottom right. Once its saved, you can remove your USB drive and you’re all done.
If you get stuck, don’t hesitate to ask us for help. It’s new for us too, but we’ll help you as best as we can. Happy scanning!

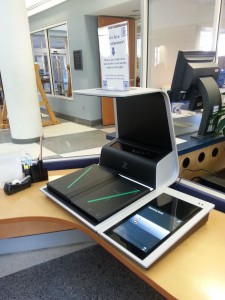
What a beautiful piece of equipment. Seems so easy to use. Curious of who makes this, I searched Google for matching photos. Looks like you have a Zeutschel Zeta Copier / Book Scanner. Again…beautiful! Thank you for providing this to your patron community.
Yes, that’s the Zeutschel Zeta. We’re happy to provide it!